


THIS POST IS IN THE WORKS! PLEASE CHECK BACK IN A DAY OR SO. THANKS FOR LOOKING :)
A favorite neighbor of mine from childhood (my friend's mom actually) was recently diagnosed with cancer. She was undergoing chemotherapy and was having a pretty rough time. I decided I wanted to send her something to let her know I loved her and help raise her spirits. I didn't want to send flowers because I wanted something different. Something that would last. It was close to Valentine's Day so I decided to make her a wreath made from felt flowers.
I bought 1 yard of deep red felt (the kind on the bolt - sold at most fabric stores). I needed to come up with a wreath form but didn't want to pay a lot (if anything) for it. I was going initially going to draw one freehand on a scrap of plywood and use my jigsaw to cut it out. I found this heart shaped plate at the 99 Cents Only store while shopping for something else and figured I could very easily make it work. They usually carry them around Valentine's Day. It's just a plain, heart shaped melamine plate. If you don't have a 99 Cents Only store near you, they always have them at Target around Valentine's Day too.


The plate has a very slight bowl shape to it when its laying flat on its back. I pulled some stuffing out of an old pillow and laid it into the bowl. I then hot glued a piece of felt around the entire front wrapping completely around the back and hot glued it down. I cut another piece of hot glue in the shape of the plate and glued it to the bottom of the plate to cover up the edges of the top piece I had pulled around to the back and hot glued in place.
The next part is a little tricky to explain (but easy to do....don't freak out). I'll try my best to explain (and use lots of cryptic, hard to understand photos for you to try to figure out - kinda like Ikea assembly instructions).
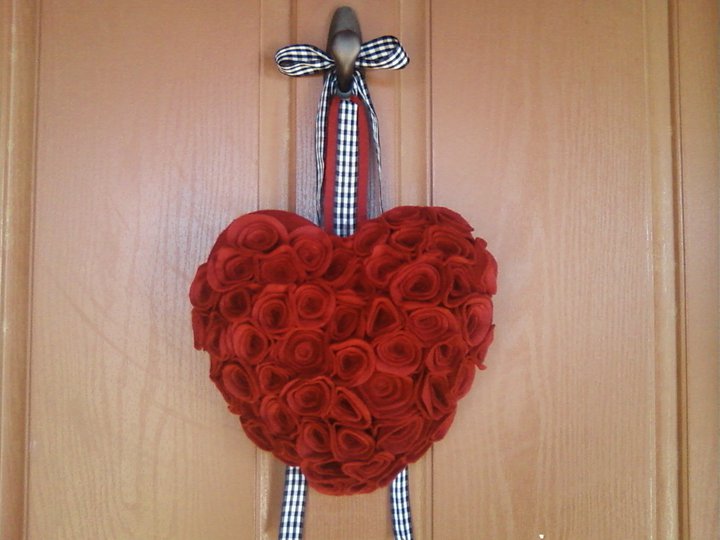
To hang, find a ribbon of your choice and hot glue to the back of the plate.

No comments:
Post a Comment